Do I need to Dewinterize my RV?
Winterizing an RV is a crucial process undertaken by owners to protect their recreational vehicles from the harsh conditions of winter. As temperatures drop, the risk of frozen pipes, damaged plumbing, and other issues increases significantly. Winterizing involves a series of steps, such as draining water from the plumbing system and adding antifreeze, to safeguard the trailer during periods of inactivity.
After a trailer has been thoroughly winterized and stored for the cold season, preparing it for spring and summer use again requires meticulous dewinterization. This is where dewinterizing becomes paramount. Dewinterizing is the process of reversing the protective measures taken during winterization, preparing the trailer for use once again.
While dewinterizing an RV takes considerable time and diligence, it is crucial preventative maintenance. Taking shortcuts risks catastrophic and costly damage from freezing, floods, mold and mildew, or system failures that could ruin a long-awaited camping trip. Properly dewinterizing protects your investment and prepares for problem-free summer adventures. Following this guide to dewinterize your camper, which elevates your camper experience for the new trip.
When Should I Dewinterize RV?
Determining the right time to dewinterize your trailer involves a careful consideration of various factors. Pay close attention to local climate conditions, waiting until temperatures consistently rise above freezing to mitigate the risk of damage from frozen pipes. Keep a watchful eye on weather forecasts, and plan the dewinterization process in anticipation of the upcoming camping season or your intended use. Consulting your RVers manual and seeking advice from local service centers can provide valuable insights, as different trailer models may have specific recommendations.
Guide to Dewinterizing RV
The dewinterization process methodically walks through inspecting and preparing each system, protecting your investment and avoiding headaches from winter damage. This guide is the companion in navigating the steps required to revive your both motorhomes and camper trailers after the winter slumber.
Check the Tires
As you prepare to bring your camper out of hibernation, a crucial aspect of the dewinterization process is giving careful attention to your tires. Months of inactivity can affect tire pressure, and fluctuations in temperature during winter storage may lead to changes in inflation levels. Start by visually inspecting each tire for signs of wear, cracks, or bulges. Ensure that the tire sidewalls are free from any visible damage.
Next, use a reliable tire pressure gauge to check and adjust the tire pressure according to the manufacturer's specifications, as indicated in the RV owner's manual. Proper tire inflation is not only essential for safety but also contributes to fuel efficiency and overall performance during your travels.
Don't forget to inspect the tire tread for adequate depth and even wear, and consider rotating the tires if necessary. By including a thorough tire check in your dewinterization routine, you're not just ensuring a smooth ride but also promoting the longevity of your RV's tires.

Exterior Checks
When bringing your trailer out of winter storage, a comprehensive inspection of the exterior is paramount to ensure it's in top condition for the upcoming travel season.
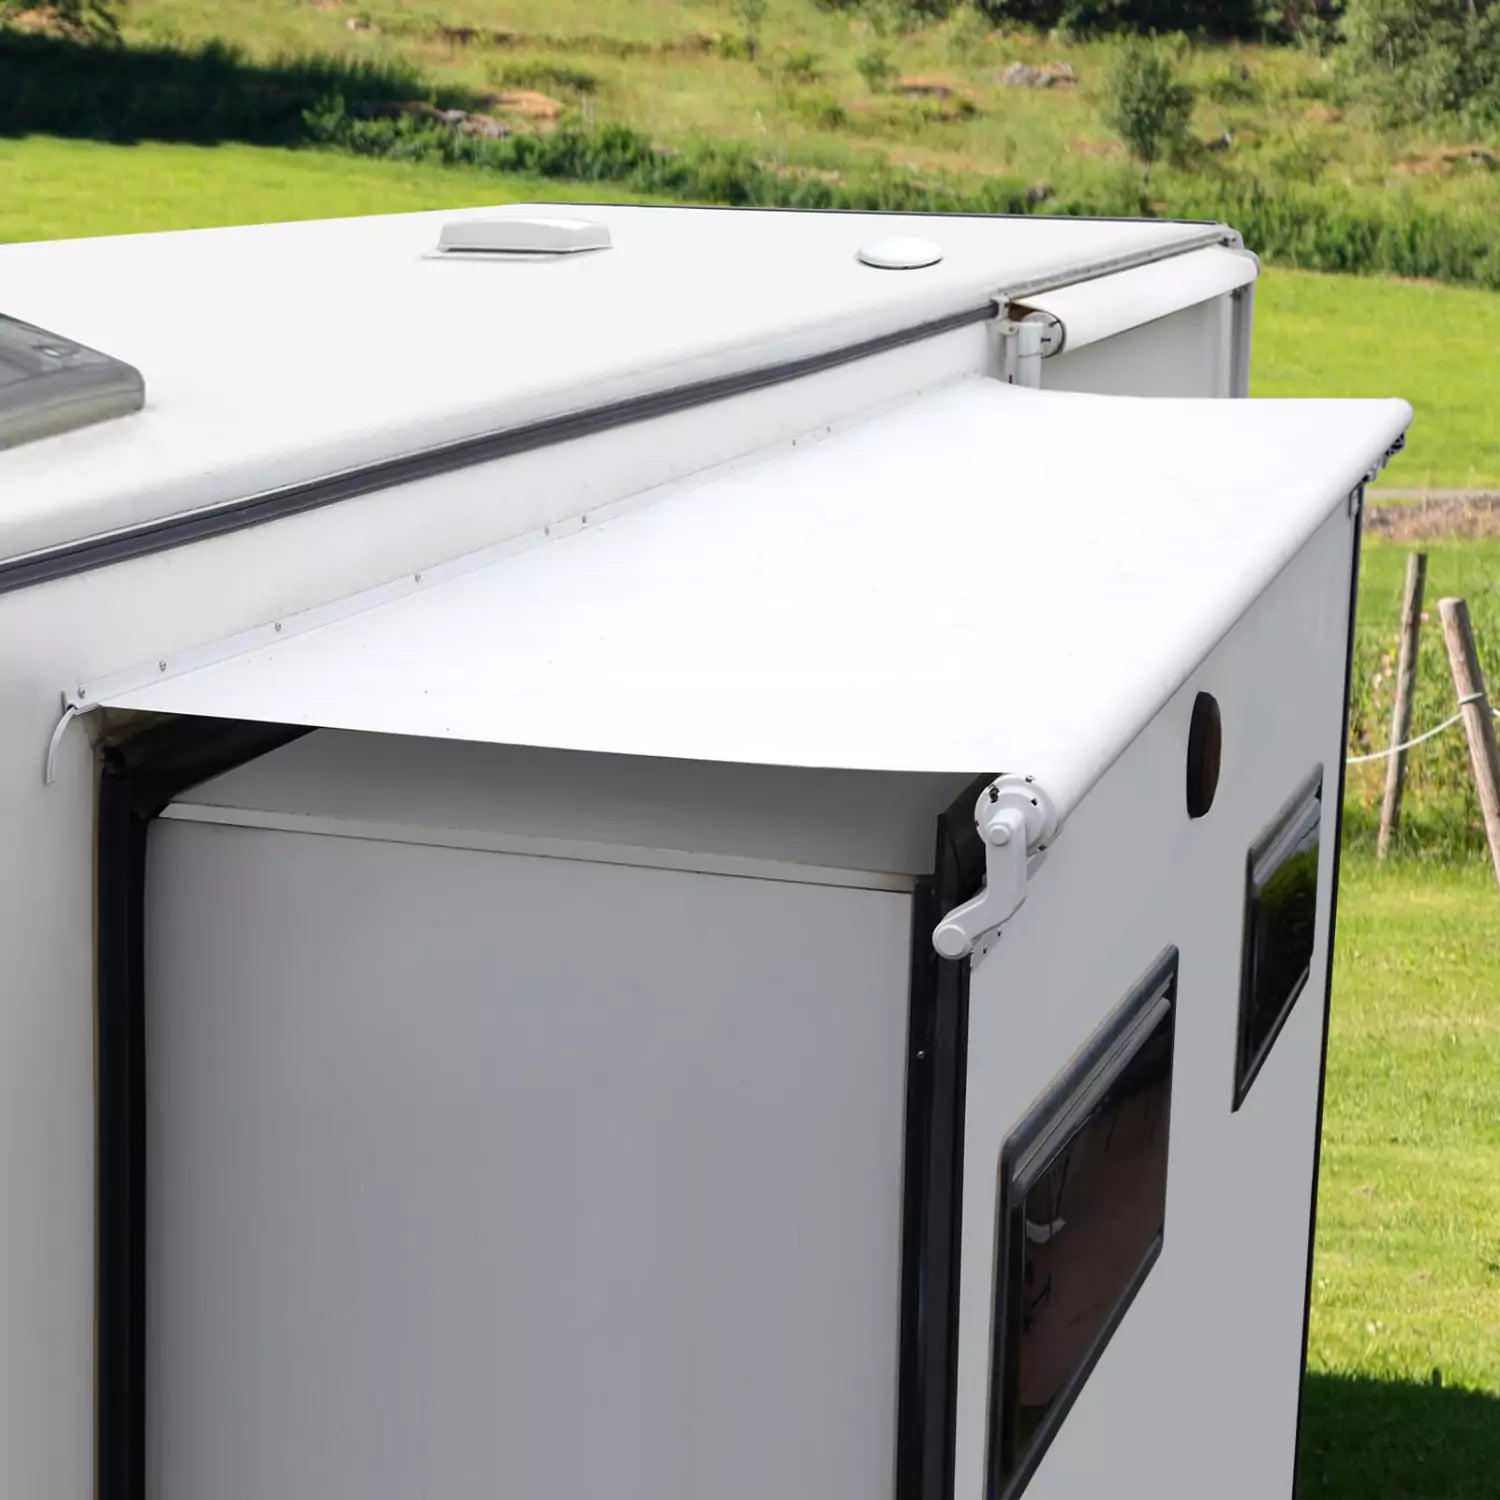
Carefully inspect the entire roof surface, looking for areas where sealant has cracked, peeled up, or become otherwise compromised. Pay particular attention around roof components like:
- Seams, Edges
- Air conditioners
- Air vents
- Solar panels
- Awnings
- Slide-out seals
- Cable entry points
- Refrigerator vents
- Antennas, etc.
, where water damage can occur. Move on to the sidewalls, checking for any visible damage, delamination, or discoloration. Inspect windows and seals, ensuring they are intact and properly sealed. Address any issues promptly to prevent water infiltration during rainy weather.
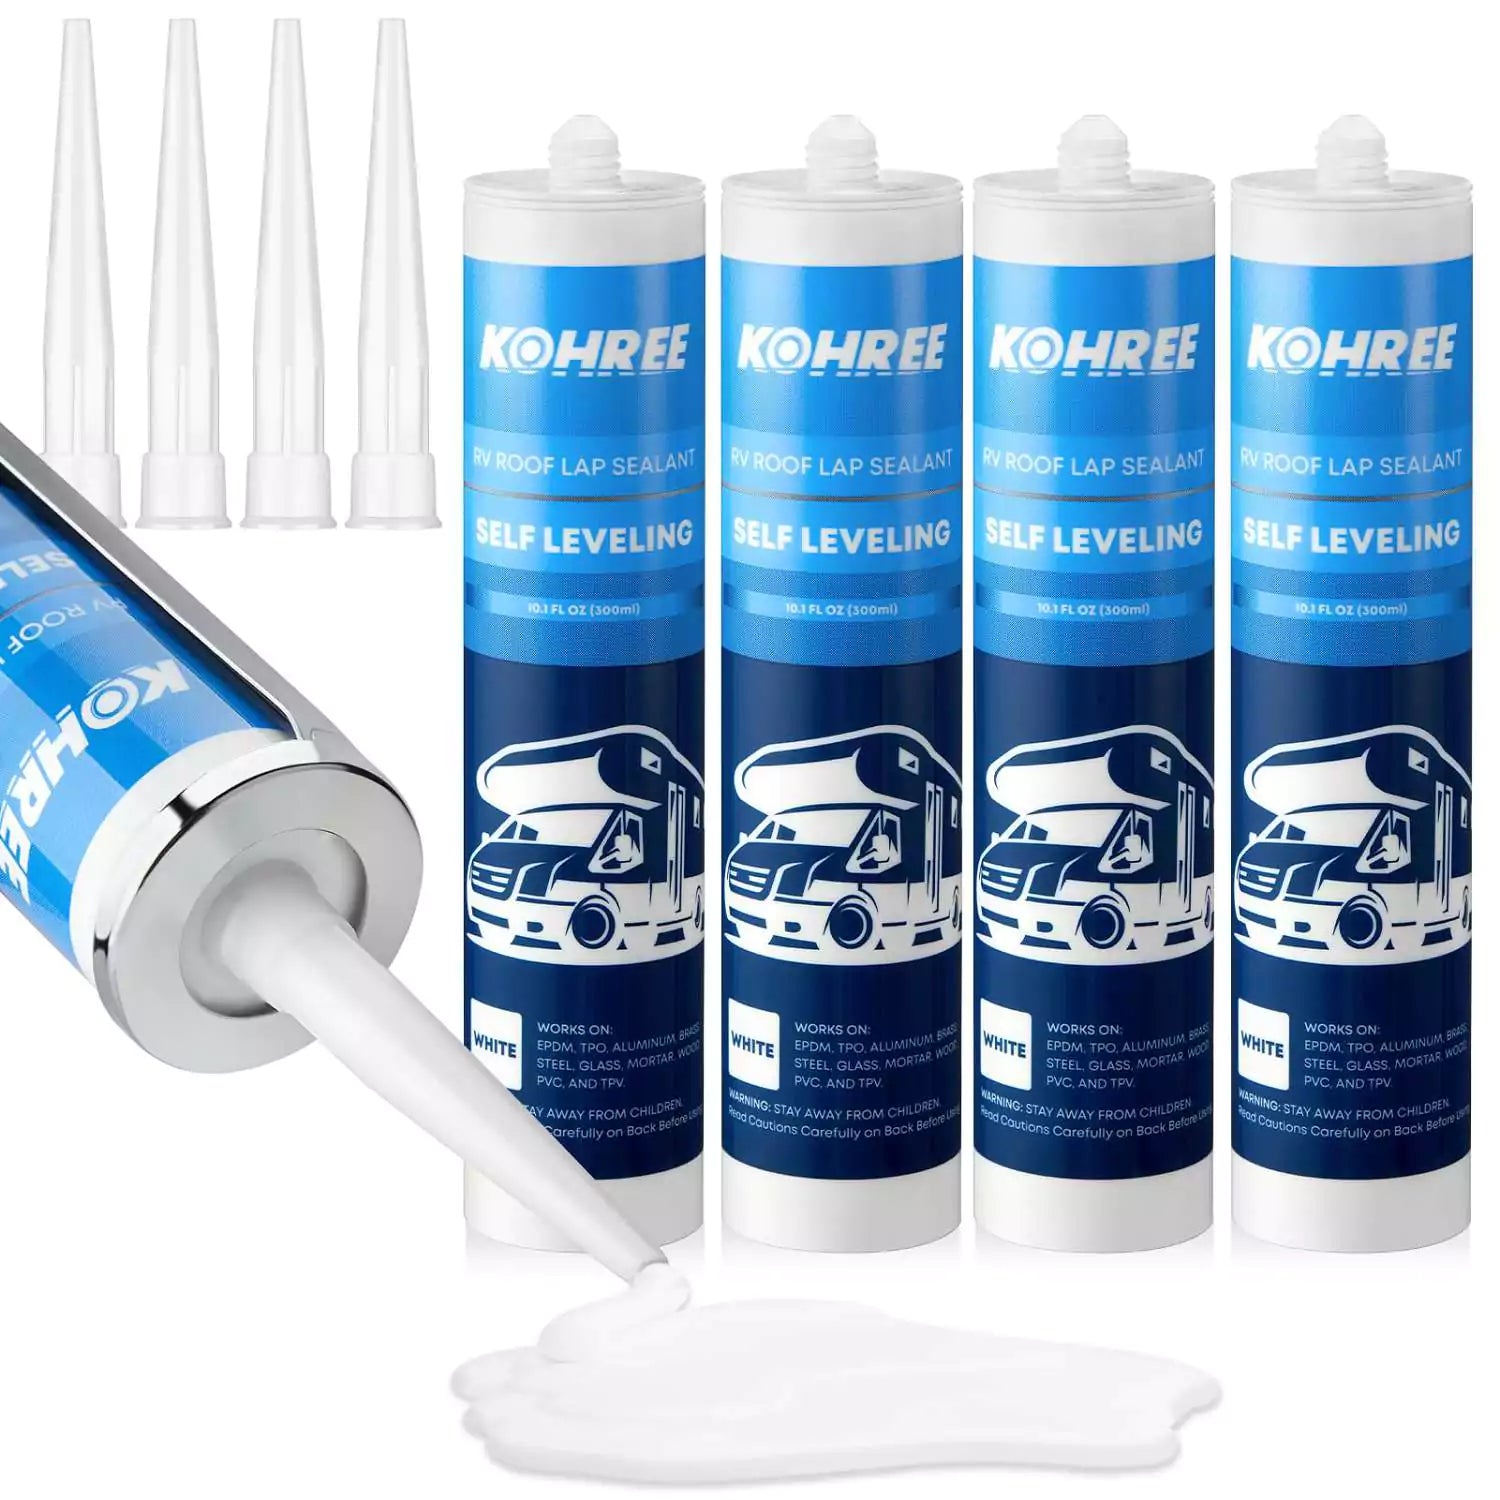
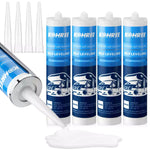
For small cracks or gaps in sealant, thoroughly clean the area then apply RV sealant tape, pressing it firmly into place per the product directions. For more extensive lifting or absent sealant, scrape away all old material then apply a self-leveling RV roof sealant designed for vertical and horizontal surfaces. Self-leveling sealant will flow into cracks and voids, creating a fully bonded barrier. Follow cure times before exposure to water. Make repairs on a dry, sunny day. Completely remove all damaged sealant to provide the proper bonding surface.
Take your time to do careful repairs in order to prevent roof leaks which could cause interior damage. By meticulously examining the exterior components, you not only safeguard your trailer against potential damage but also lay the foundation for a worry-free and enjoyable travel experience. What Is The Best Sealant for RV?
Battery Maintenance
Batteries are a critical component to check over when dewinterizing an RV. The cold winter months can drain batteries that aren't on maintenance chargers. Ensuring the vitality of your RV's battery is a critical step in the dewinterization process, as it directly influences the functionality of various systems within your vehicle. Sitting discharged for prolonged periods will also degrade batteries over time and shorten their lifespan. During dewinterization, thoroughly inspect the condition of your trailer deep cycle batteries.
If the battery has been in storage for an extended period, it may require recharging. Use a multi-stage charger and follow manufacturer guidelines for safely recharging depleted batteries. In some cases, depleted batteries may fail to hold a proper charge when reconditioned, requiring replacement. Check the voltage of recharged batteries with a voltmeter to ensure they reach and hold the proper charge. Swap out any weak or unserviceable batteries. Also ensure battery terminals are clean and corrosion-free. Well-maintained battery is integral to powering essential appliances and systems, ensuring a smooth start to your RV adventures after the winter hiatus.
Inspect RV Generator or Solar Power Components
As you embark on the dewinterization process, don't overlook the critical examination of your RV's power sources, be it a generator or solar components. For those relying on a generator, inspect the unit for any signs of wear, address oil and fuel levels, and ensure the exhaust system is free from obstructions. Remove any coverings and debris that may have collected and impede airflow. Test the generator to confirm it starts easily and runs smoothly.
If your camper is equipped with solar components, check the condition of the solar panels, wiring, and charge controller. Ensure that the connections are secure and free from corrosion, and wiring secured to revive renewable charging abilities. Check charge controller diagnostics and battery voltage or codition as well. Identifying any maintenance needs with power sources ahead of heavy usage prevents getting stranded without a functioning generator or adequate 12V power.
A thorough examination of these power sources guarantees a reliable and efficient energy supply for your trailer, ensuring you're ready to hit the road with confidence and power.
Inspecting Appliances and Systems
A crucial aspect of the dewinterization process involves a meticulous examination and testing of the various appliances and systems that make your trailer a home away from home. Start with the water heater – run both the electric and propane modes to ensure they function properly. Check for any leaks around the unit and inspect the pressure relief valve for proper operation.
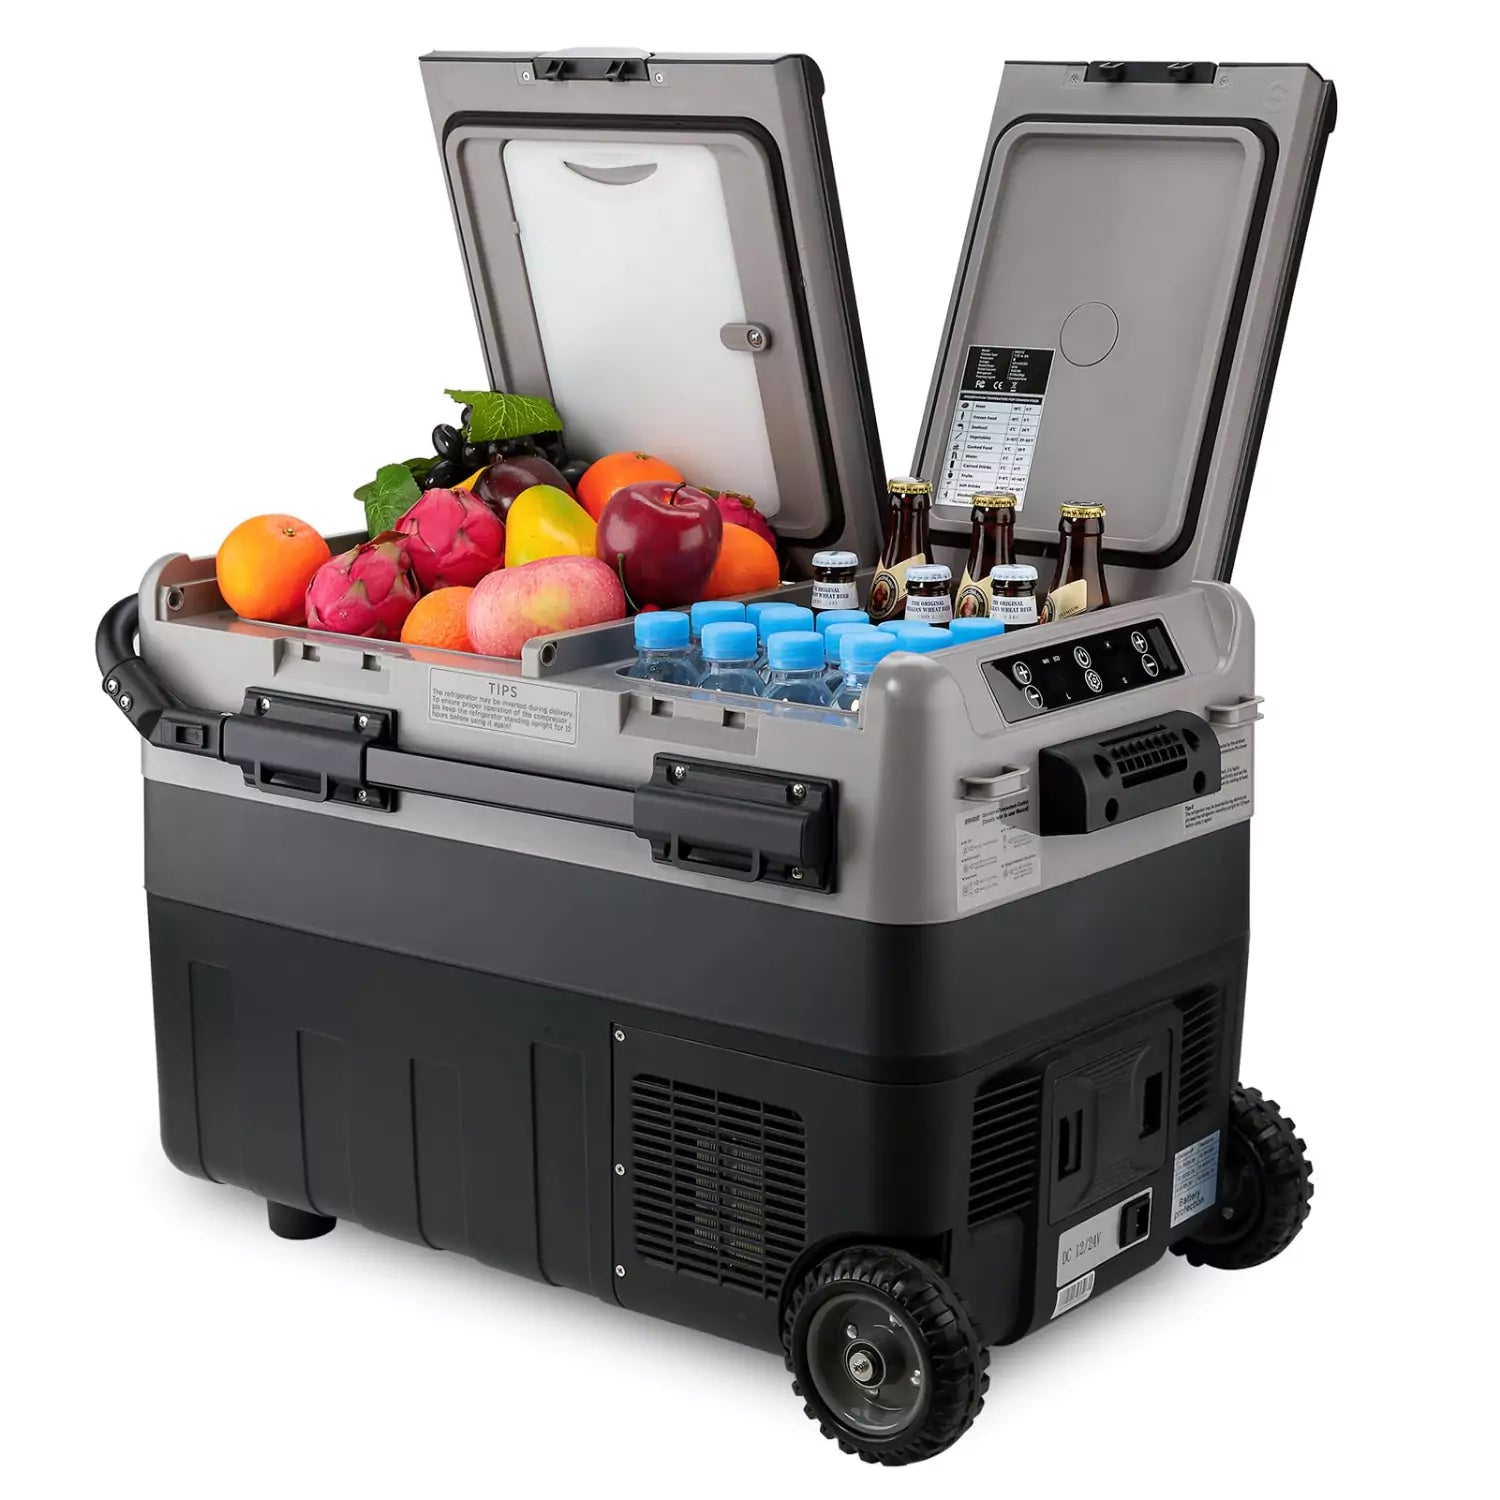
Moving on to the refrigerator, switch it on and verify that it cools efficiently. Clean the refrigerator vents and remove any dust or debris that may have accumulated during storage.
For the HVAC system, test both the heating and cooling functions to ensure they respond appropriately. Inspect air filters and clean or replace them as needed for optimal performance.
Before testing the generator, check the exhaust system for any damage. Turn on the generator for starting and running under load for at least 30 minutes checking for odd noises, smells, or smoke. See user manual for rated load.
Confirm all lighting is operational inside and outside camper. Flip switches to check. Don't forget to test the stove, oven, microwave, and any other kitchen appliances to confirm they are in working order. This comprehensive inspection ensures that all vital systems are operational, providing you with the peace of mind that your RV is ready to deliver a comfortable and functional living space during your travels.

Dewinterizing the RV Water System
1. Flushing antifreeze from water system
When transitioning your trailer from winter storage to the adventure-ready state, dewinterizing the water system is a crucial step. There are two main approaches to winterizing an RV's plumbing system - using compressed air or RV antifreeze. The method of dewinterization depends on which of the methods you use to winterize your water system during the winter.
If you used compressed air to blow out all water from the lines and tanks, no antifreeze flushing is needed when dewinterizing. You can reconnect water supply and turn on pumps to flow fresh water through. This air compressor method avoids having to flush antifreeze in the spring.
If you added RV antifreeze to the plumbing system, this antifreeze will need thoroughly flushed out before using the water supply. To flush, run taps and showers until clear water flows. Add water to toilet bowls to flush antifreeze from black tank. Discard freezer ice maker ice. Make sure the antifreeze is cleared, you can sanitize tanks and lines through the system and flushing again.
The question of how to drain antifreeze has always been controversial. Dewinterizing your RV in an environmentally friendly manner involves conscientious handling and disposal of antifreeze. It's suggest to collect and store used antifreeze in a clean container, opting for less toxic formulations if possible. Prioritize recycling centers or hazardous waste disposal facilities for proper disposal, adhering to local regulations and guidelines. It's not advise to drain antifreeze onto the ground or into storm drains.
If no antifreeze was added, compressed air simplifies the flush process. But antifreeze requires meticulous flushing and sanitizing to avoid contamination. Know your winterization method to properly dewinterize water supply.

2. Water System Inspection
As an integral part of the dewinterization process, changing water filters and inspecting the water heater and pump are vital tasks that contribute to the overall functionality and quality of your RV's water system.
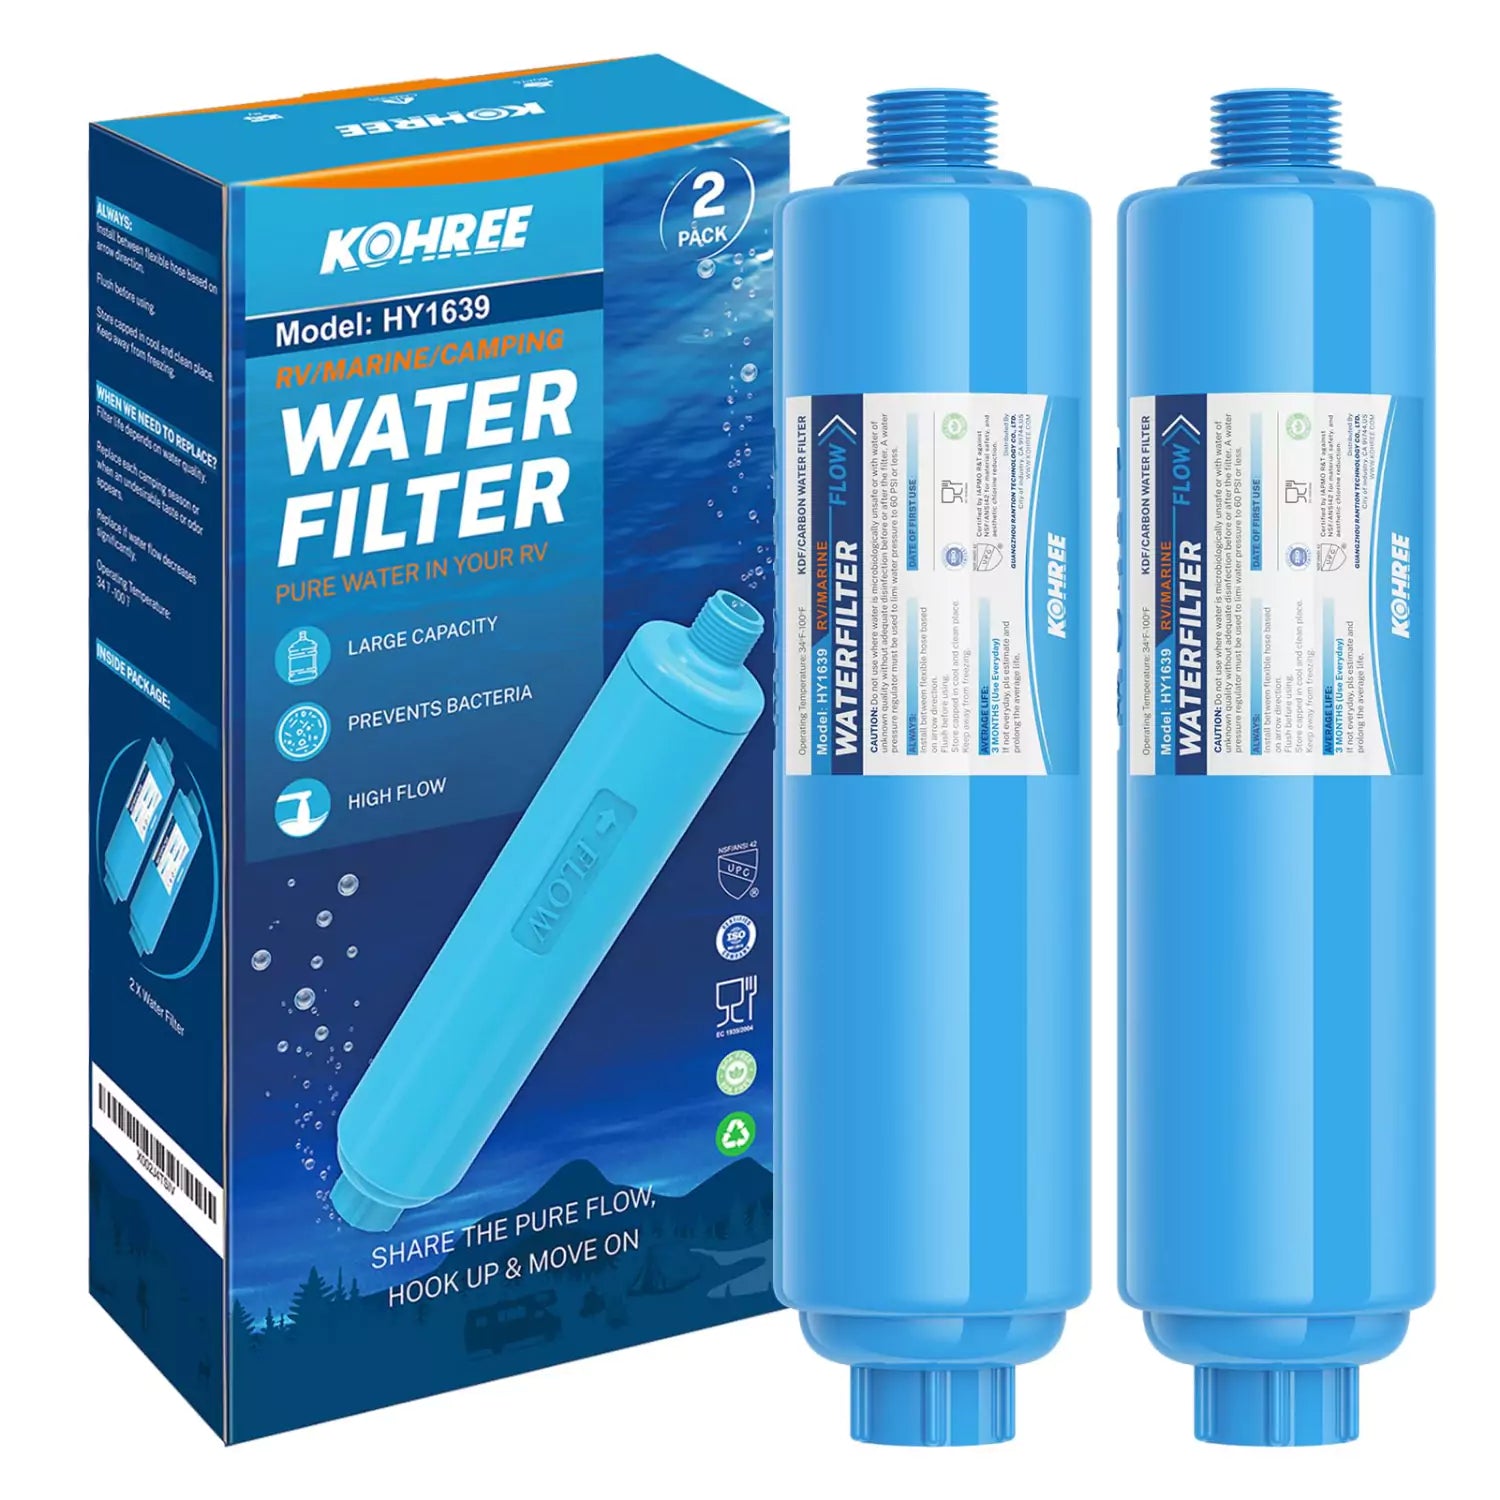
Begin by replacing any water filters that may have been installed before winterization to ensure a fresh and clean water supply. The cold months can allow debris and mineral buildup to clog filters, reducing flow. Replacing the water filters not only enhances the water quality for consumption but also safeguards the plumbing system from potential contaminants.
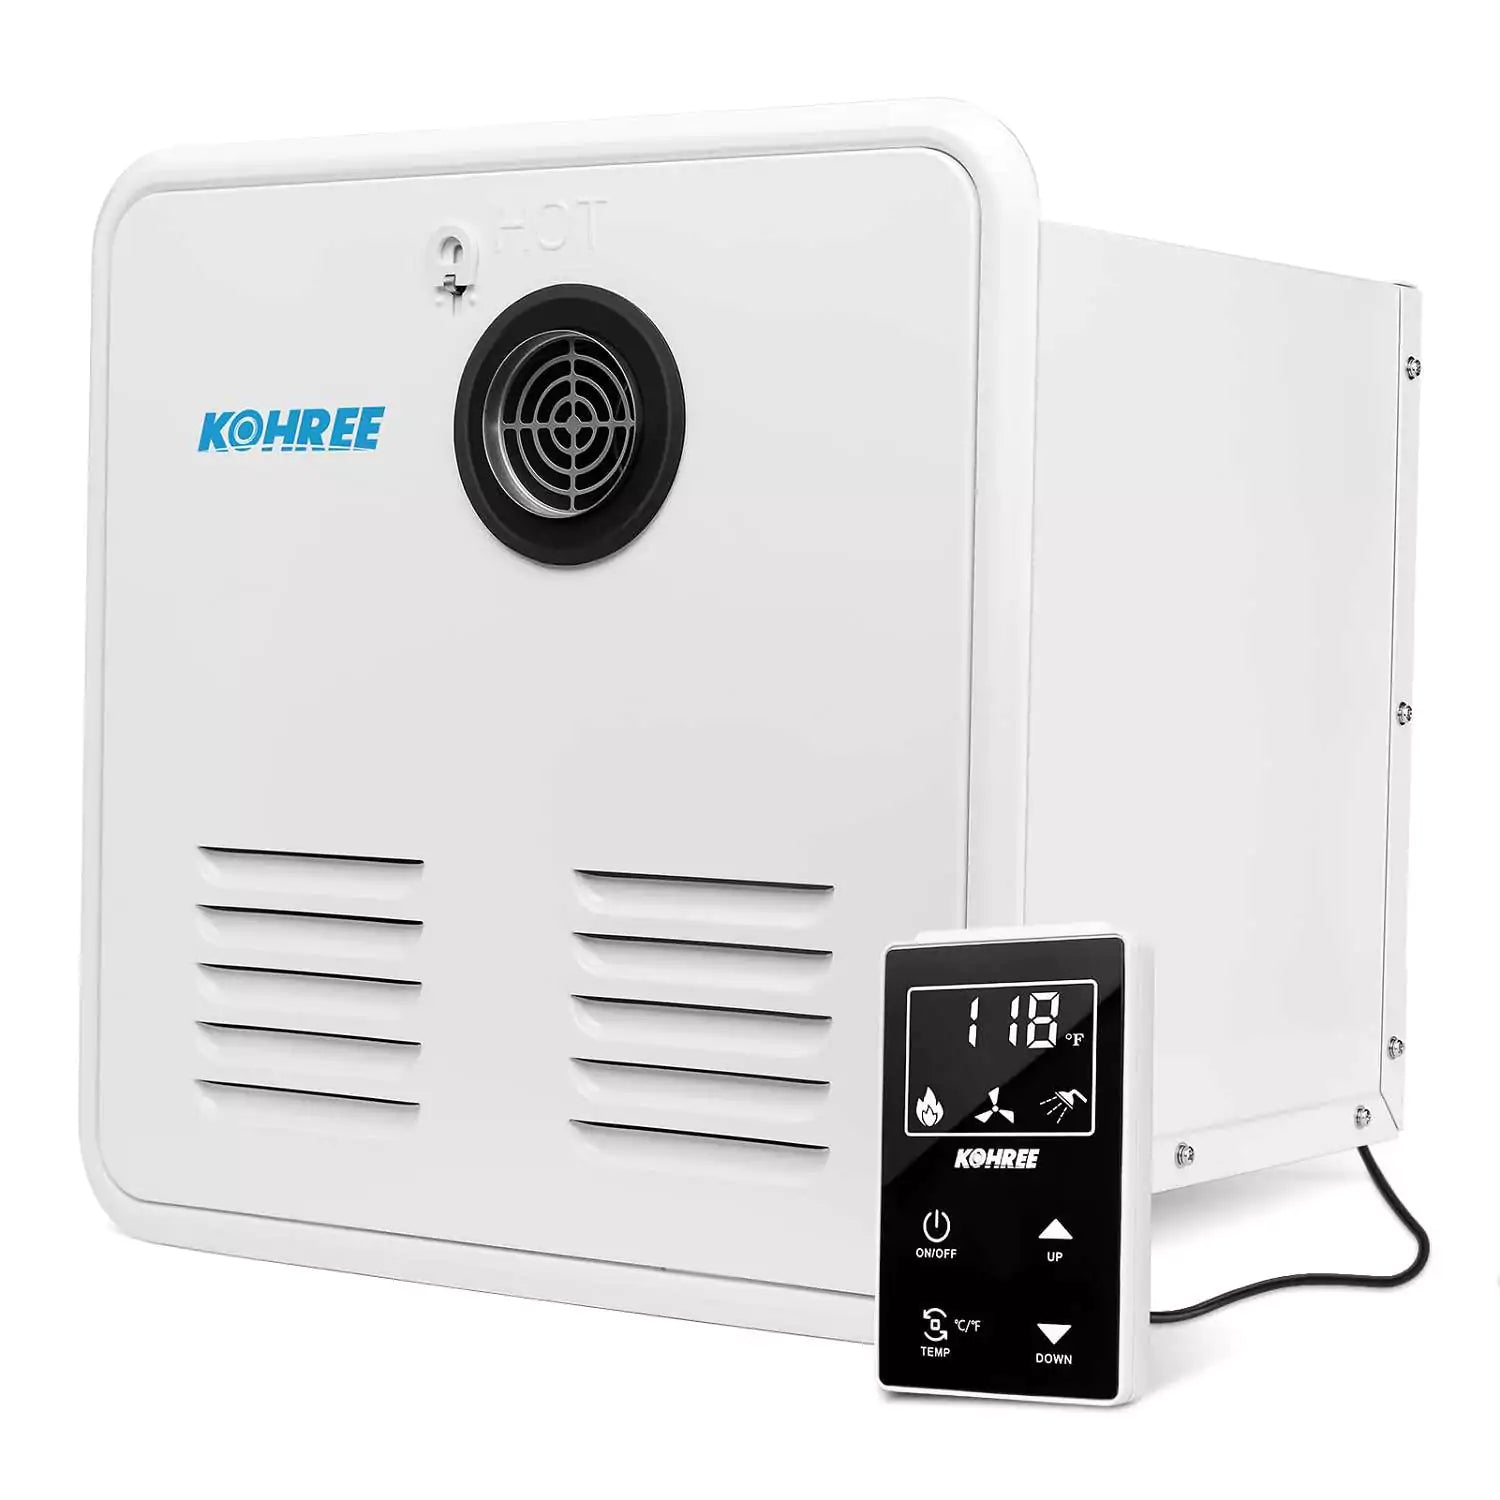
Simultaneously, also thoroughly inspect the water heater before operating, checking exterior for damage, proper ignition, temperature settings, exhaust venting, and flushing sediment. Make sure the burner engages properly without issues.
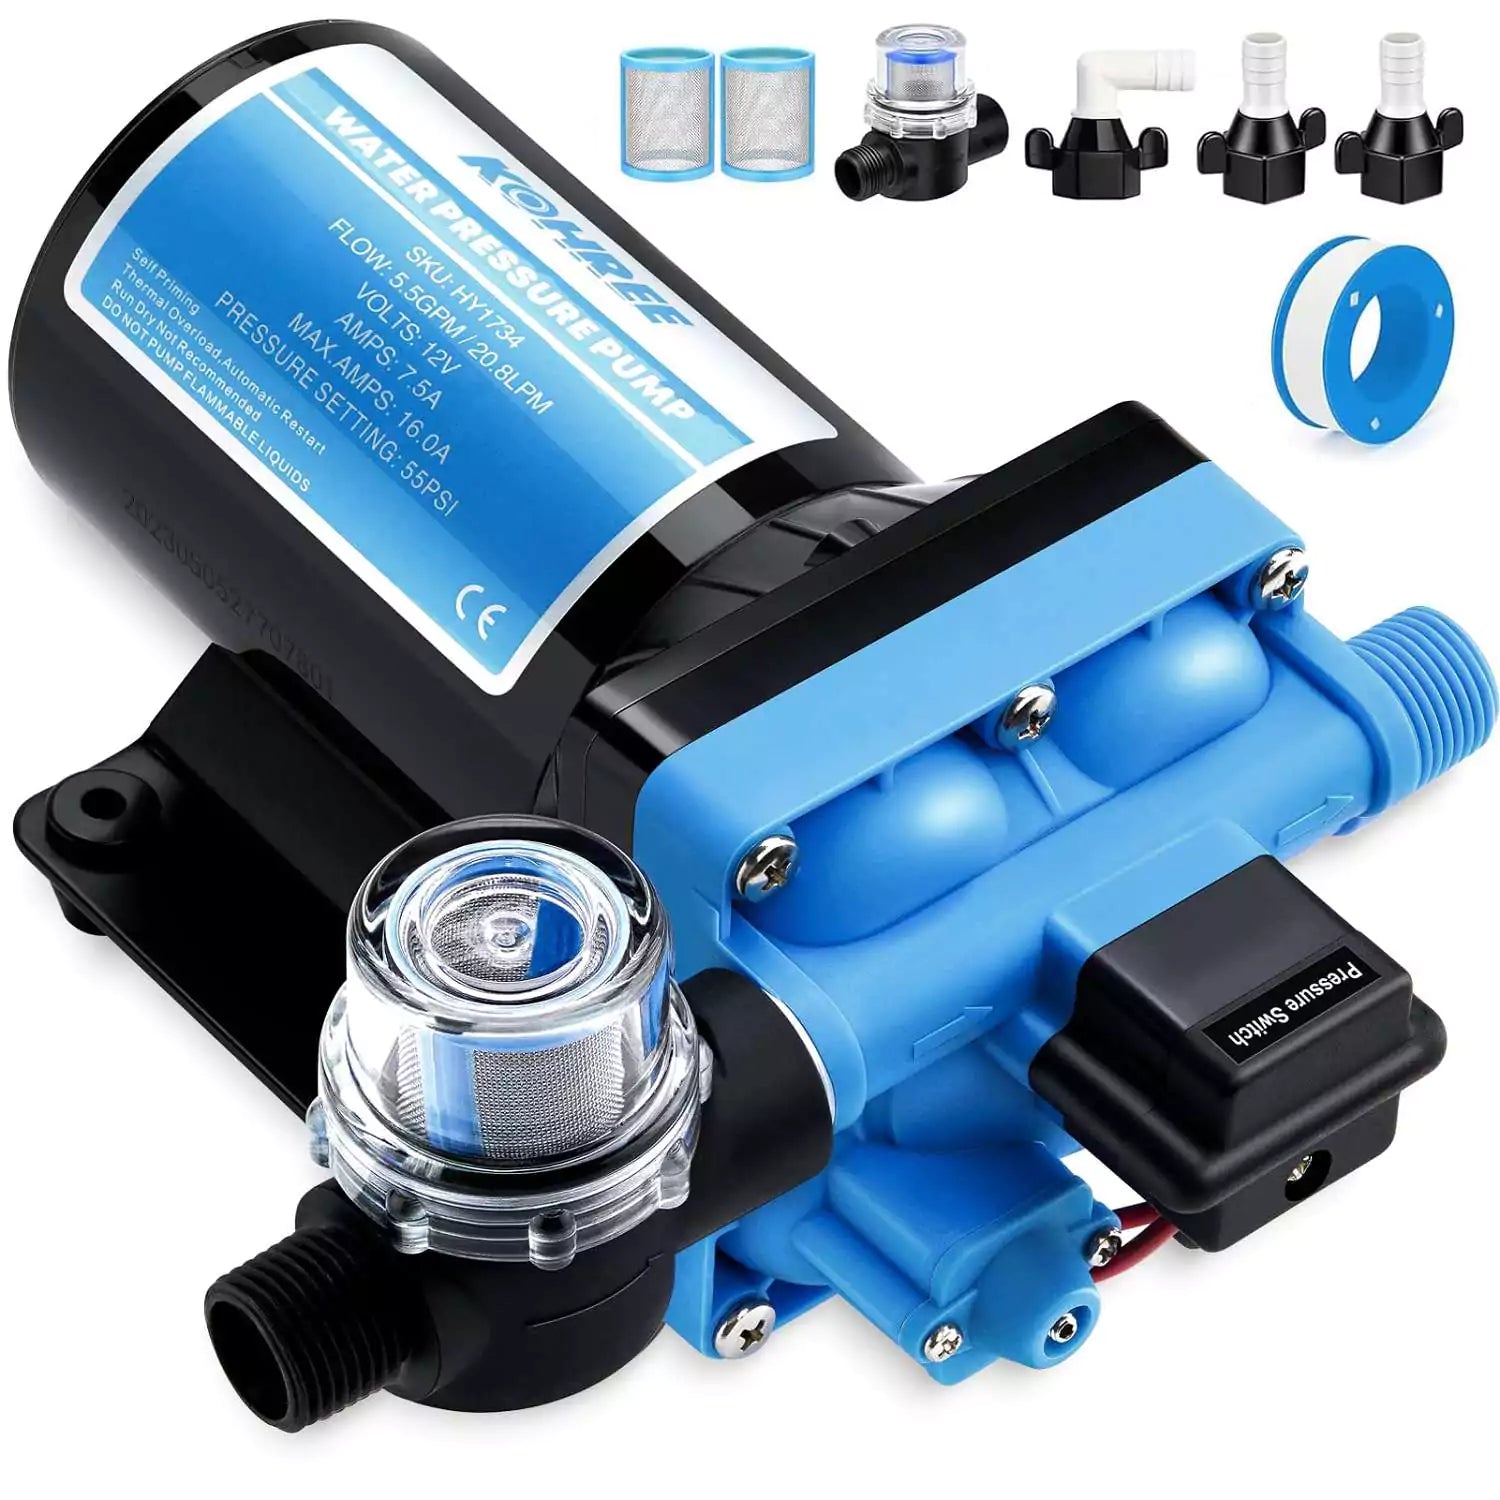
Additionally, test the water pump by allowing it to cycle on and off, listening for abnormal noises that could indicate a problem. Addressing these components during the dewinterization process ensures that your RV's water system is not only operational but optimized for a season of worry-free and refreshing travels.
Preparing to upgrade your water system
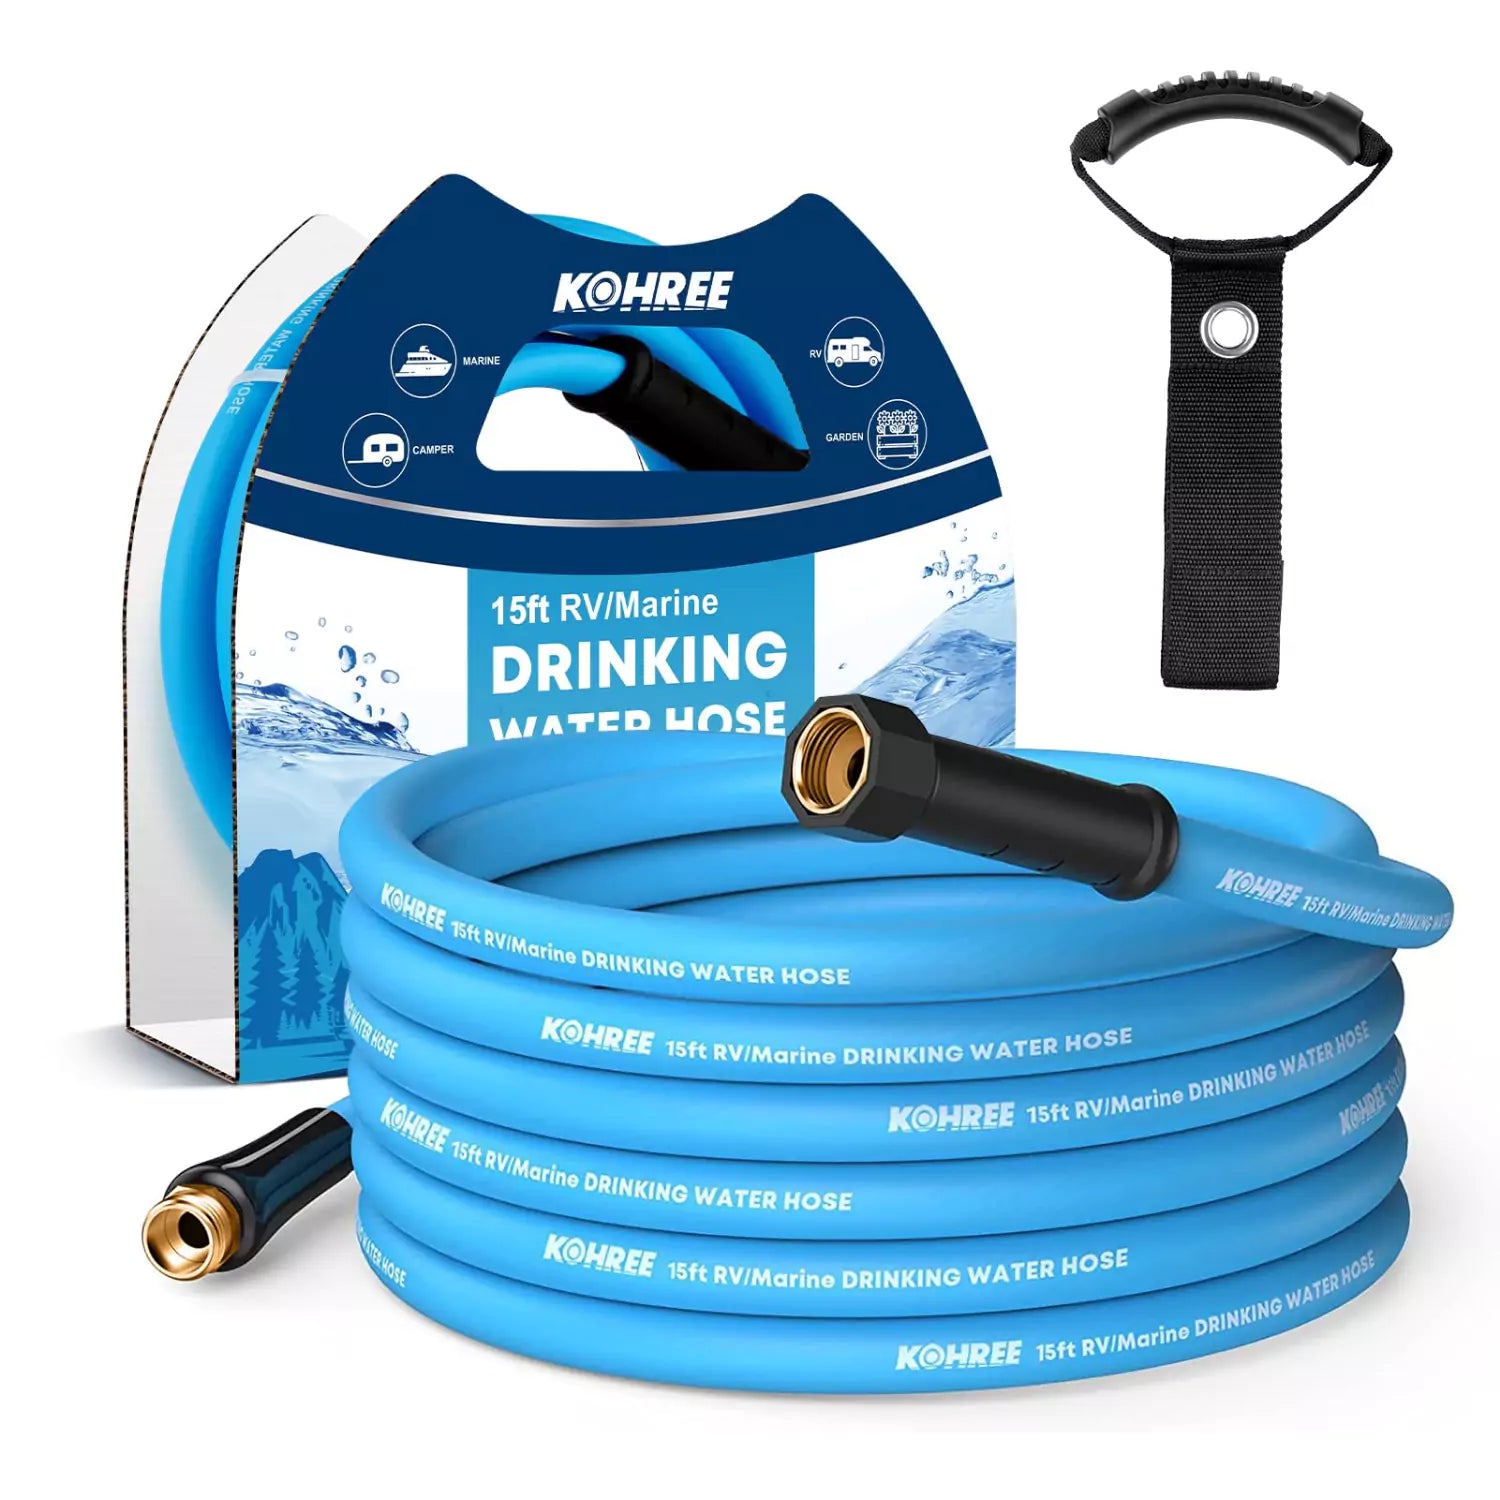
Beyond the essential steps like flushing antifreeze and inspecting systems, consider upgrading key components for an enhanced travel experience. Choose a new, high-quality water hose to ensure a reliable and efficient water supply during your journeys.
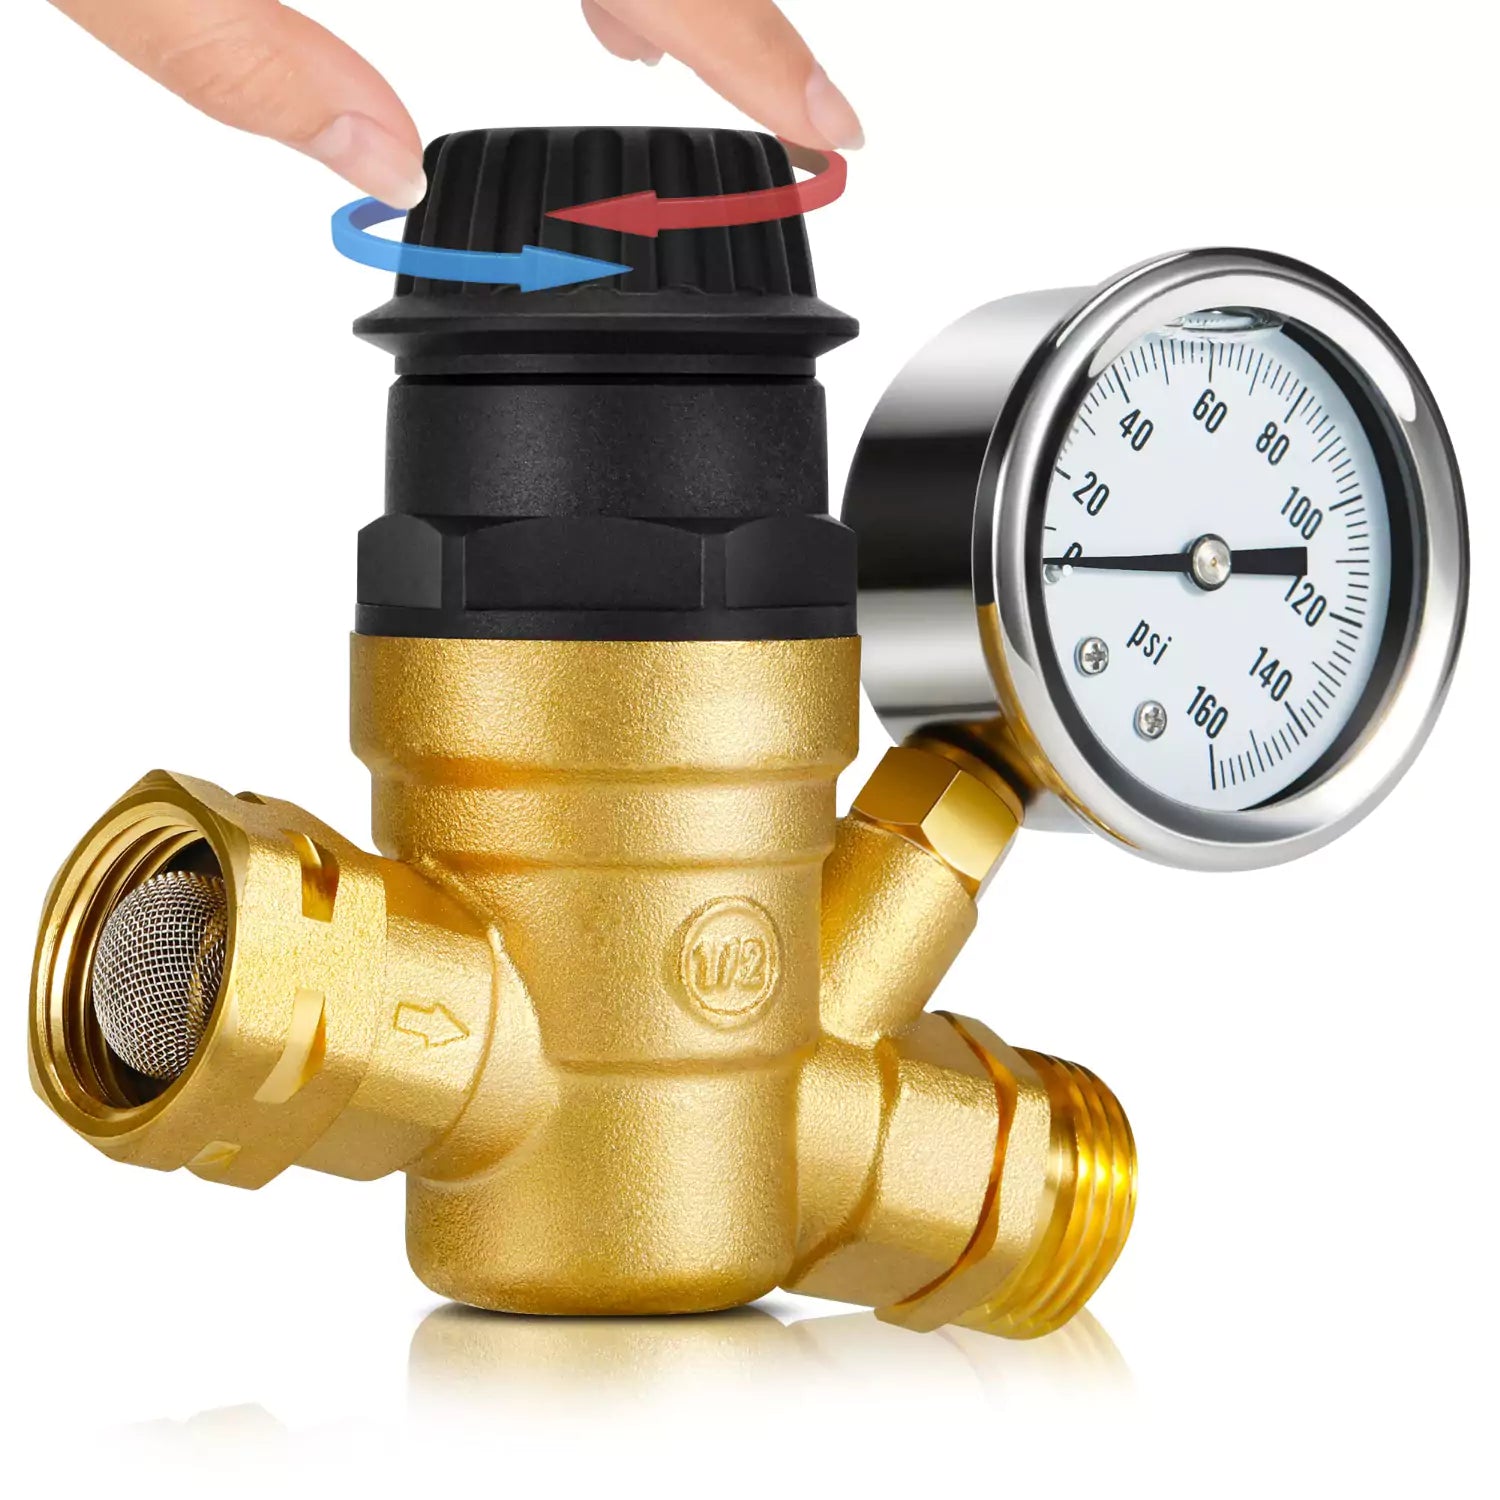
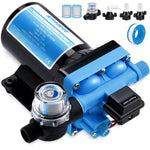
If you want to choose a new, high-quality water hose or water pump to ensure a reliable and efficient water supply during your journeys, Kohree will helo you to select "What is the Best 12V Water Pump for RV" and "How to Choose the Best RV Water Hose". The selection of a durable and flexible hose is crucial for hassle-free connections at various campgrounds. A reliable water pump is essential for consistent water flow throughout your trailer. The clean water filter helps ensure a fresh and contaminant-free water source, you need to prepare the "Best Water Filters for RV Camping" for new trip. With these thoughtful additions, your camper will be equipped not only for a new year of travels but for a heightened level of convenience and comfort.
Sanitize The RV Water System
Ensuring the cleanliness and safety of your RV's water system is a paramount step in the dewinterization process. Sanitizing the system helps eliminate any lingering bacteria or contaminants that may have accumulated during periods of inactivity.
Note: Consult your RV's manual for instructions on if you can use bleach to clean the hot water heater. If your trailer's hot water heater doesn't have a specific method for sanitization or if the manufacturer advises against sanitizing the water heater directly, you need to bypass the hot water heater, most campers are equipped with a water heater bypass valve. Utilize this valve to bypass the hot water heater during the sanitization process. This way, the sanitizing solution will not enter the water heater. And you can proceed with the sanitization process, focusing on the cold water lines.
Step 1: Drain and flush all antifreeze from the water lines and tanks if used in winterization. Run taps and showers until clear water flows. Obtain an RV-approved sanitizing solution, such as bleach in the recommended concentration for your tank size.
Step 2: If using RV-safe sanitizing solution, follow the manufacturer's instructions for the appropriate dilution. For bleach, start with 1/4 cup per 15 gallons of tank capacity. Pour the prepared sanitizing solution into the fresh water tank. Fill the tank with fresh water, allowing the solution to mix thoroughly.
Step 3: Turn on the water pump and open all faucets one by one, until you smell the sanitizer coming through. Let the sanitizer fully flow through each line. It may take a few minutes for the mixture to flow through the pipes at first. Allow the sanitizing solution to sit in the water system for the recommended contact time. This is typically around 4 to 6 hours.
Step 4: After the designated time has passed, thoroughly flush the entire water system until you no longer detect the scent of bleach or sanitizing solution. Check for residual odors, test the water at several faucets to ensure fresh taste and smell. If any residual odors persist, repeat the flushing process until the water is clear and free from any lingering smells. Drain and repeat flushing if any sanitizer odor remains.
Propane System Checking
The propane system is a critical component to examine during dewinterization. Start by checking propane tanks, hoses, and fittings for any damage or leaks with a bubble test. Tanks should be filled to capacity to avoid running out mid-trip. Ensure all interior propane appliances are turned off before replacing tanks.
Inspect the regulator for any debris blocking ventilation. Check the propane detector to ensure it is in working order, providing a crucial safety measure against potential gas leaks. Operate each propane appliance like the furnace, stove, oven, and refrigerator on propane mode. Verify full ignition, clean burner flames, and proper functionality.
If the trailer has been in storage for an extended period, it's advisable to have the propane system professionally inspected for any hidden issues. By meticulously checking the propane system during dewinterization, you not only guarantee a seamless transition into active use but also prioritize the safety of your camper and its occupants.
Testing and Safety Checks
Among the most crucial dewinterizing steps is thoroughly testing all safety systems, including smoke detectors, carbon monoxide monitors, propane alarms, and fire extinguishers. Carefully test propane appliances one at a time, ensuring proper exhaust and detector activation. Thoroughly examine and verify the proper functioning of each device to ensure they are ready to respond effectively in the event of an emergency. Regular and proactive testing of these safety features is paramount for a secure and worry-free RV journey. Regular testing of these safety features is crucial for early detection and prevention of emergencies, providing peace of mind as you embark on your RV adventures.
Cleaning and Interior Maintenance
While exterior checks are important when dewinterizing, don’t overlook freshening up the trailer’s interior. Dust, mold, and other debris can accumulate during storage, affecting the overall comfort and hygiene of the living space. Begin by thoroughly cleaning all surfaces, including countertops, tables, and cabinetry, using RV-safe cleaning products. Vacuum or sweep the floors to remove any dirt or dust, paying special attention to corners and hidden spaces. Additionally, clean upholstery, curtains, and bedding to freshen up the living quarters. Consider inspecting the interior for any signs of pests or unwanted visitors, addressing any issues promptly. Look for any signs of leaks around windows or seals. Disinfect bathroom surfaces and descale fixtures.
A clean and well-maintained interior not only enhances the overall aesthetic appeal of your camper but also contributes to a healthier and more enjoyable travel environment. Incorporating interior cleaning into your dewinterization routine ensures that your trailer is not only mechanically ready but also provides a welcoming and comfortable space for your upcoming adventures.

Conclusion
Dewinterizing your RV is a multi-step process requiring time and diligence, but it is essential preparation before hitting the road after months of non-use. By methodically inspecting and reactivating each system, prime a home on wheels for a new adventures. Consult your owner's manual, enlist help for complex tasks if needed. Taking a full inventory inside and out gets your trailer into peak operating condition.
As you embrace a new year of travels, Kohree lighting up your path as you go on a trip filled with excitement and memories. With Kohree accompanying you on this new year's adventure, may your travels be smooth, your experiences be unforgettable, and your camper be a reliable companion on the road ahead.
